Some time ago, we had a request from one of our clients to compile a list of all scheduled reports in their Cognos 10 environment. They had over 2000 schedules which were not maintained, so a lot of the recipients were no longer valid, some schedules needed to be stopped, etc. One way to check the recipients list in the scheduled report is to open the schedule for the specific report and check the To, CC and BCC fields. Given the sheer amount of the schedules, checking the schedules one by one was simply not an option.
What came to my mind was to compile this list from the Cognos Content Store. I started going through documentation, forums and discussions to figure out the needed database tables to construct a query. As it turned out, the Cognos Content Store is pretty much in the shadows when it comes to information about the data stored inside. I did find a lot of threads opened by people facing the same problem. It is not too hard to find a query which would generate a list of scheduled reports with their names rather than IDs, but the bottom line regarding the retrieving the recipients list on all of these places was pretty much the same. They all concluded that in order to retrieve the recipients list, you would need a third-party tool or check the schedules manually. As stated before, I could not check 2000+ schedules, and a third-party tool was a luxury I could not afford. So, I had to figure something out. After extensive digging, I came to the following finding:
Cognos Content Store has a neat table CMOBJPROPS26, and that table has a column DELIVOPTIONS. This column in massive in size, since it contains all kinds of data. When it comes to reports, it contains prompts, delivery formats AND the recipients, if any. Based on a query for the scheduled reports I found, I constructed the following one:
select ob2.cmid, c.name as className, n.name as objectName,
o.DELIVOPTIONS as DeliveryOptions
from CMOBJPROPS2 p
inner join CMOBJPROPS26 o on p.cmid=o.cmid
inner join CMOBJECTS ob on ob.cmid=o.cmid
inner join CMOBJECTS ob2 on ob.pcmid=ob2.cmid
inner join CMOBJNAMES n on n.cmid=ob2.cmid
inner join CMCLASSES c on ob2.classid=c.classid
where ACTIVE = 1 order by objectName
You can export the output of this query to Excel. The DeliveryOptions column will contain a lot of useless information (at least for me in this given situation). To ease the search, I used the nice Find and Replace option to eliminate them, for example, Find burst; and Replace With blank space. Make sure that you put the semicolon in the Find field or you may end up losing some valuable data (for example, if some of the reports have burst in the name, if you do not use the semicolon, it will be deleted as well). In the most cases, the emails are contained in the tag <item xsi:type=”bus:addressSMTP”>RECIPIENT_EMAIL</item>. However, try to find them after you remove all the other data which are not related to the email address. You may even try to adapt the original query to try and narrow down the search, however, I would strongly recommend to use it as is, and spend a bit more time clearing the Excel, rather than risking an entry loss.
If you have any additional questions regarding this, please contact me, and I’ll be happy to reply.
Jana Georgievska
DBA
Retrieve scheduled reports recipients from a Cognos database
RadixCloud Lead Generation Apprentice Program
We are extremely excited to show you the picture below, which has all the necessary info for you to be become a part of our RadixCloud Lead Generation Apprentice Program!
People from Macedonia, feel free to send us your CV!

Adding Websites to InfiniteWP dashboard
My last week blog post was about how you can maintain a large number of WordPress sites with InfiniteWP and how you can install it. This week will be about connecting your WordPress websites to the InfiniteWP dashboard. Wordpress websites that needs maintenance need to have InfiniteWP Client plugin installed. It’s a really straightforward process.
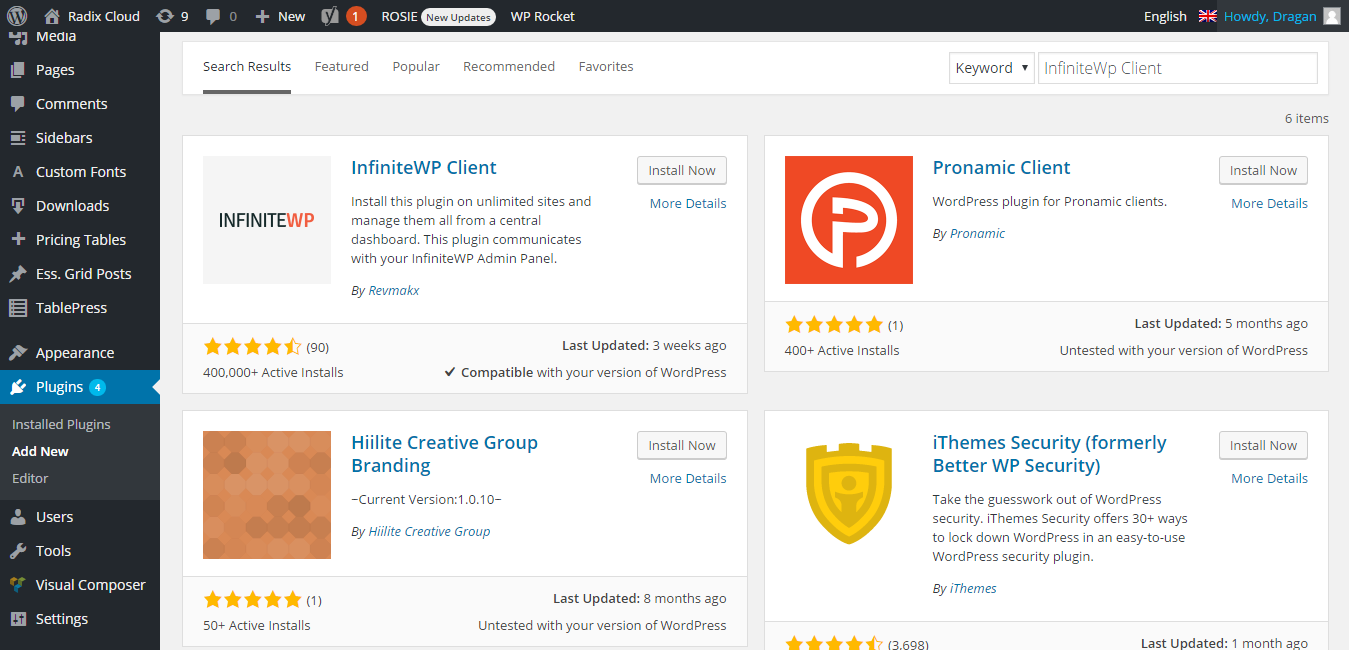
Login in to your WordPress website, go to Plugins -> Add New, in the right side type InfiniteWP Client and press Enter. The search will return the results and Click Install Now Button next to the InfiniteWP Client title. After installation click activate now to active the plugin.
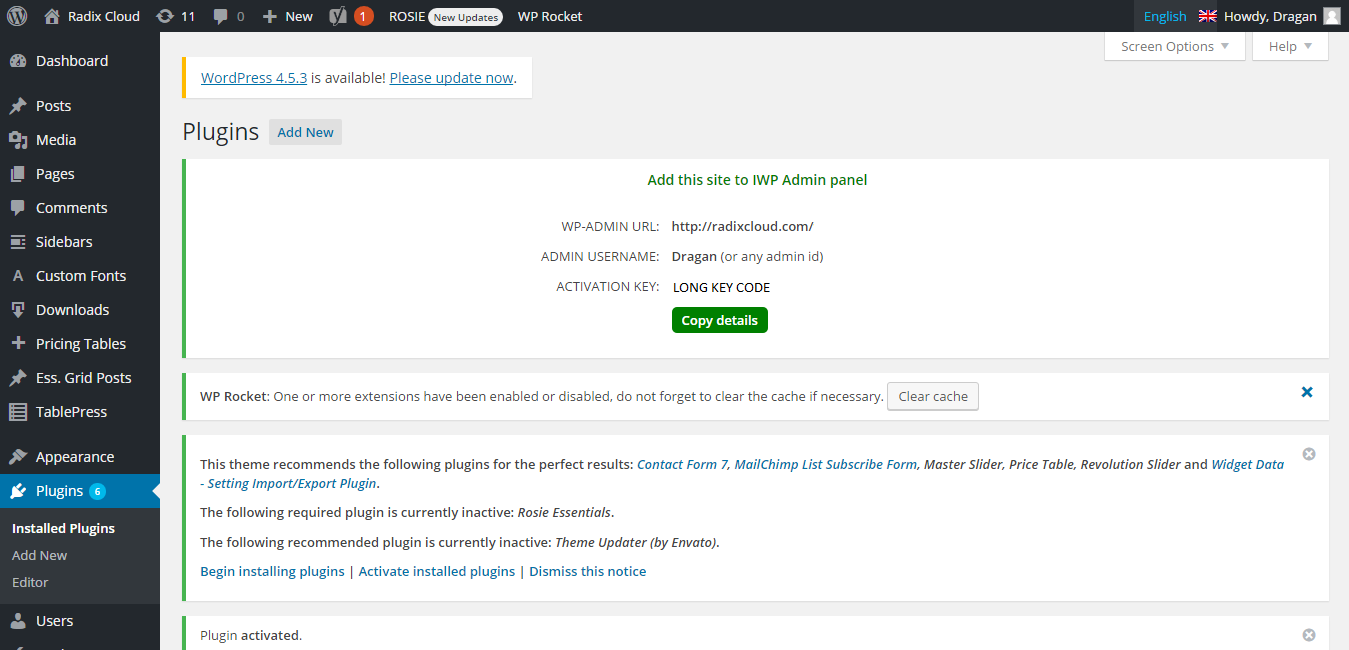
This will provide you with three fields: the website Admin URL, Admin Username and Activation Key. You can copy the entire data with the green Copy Details button or write it in a notepad.
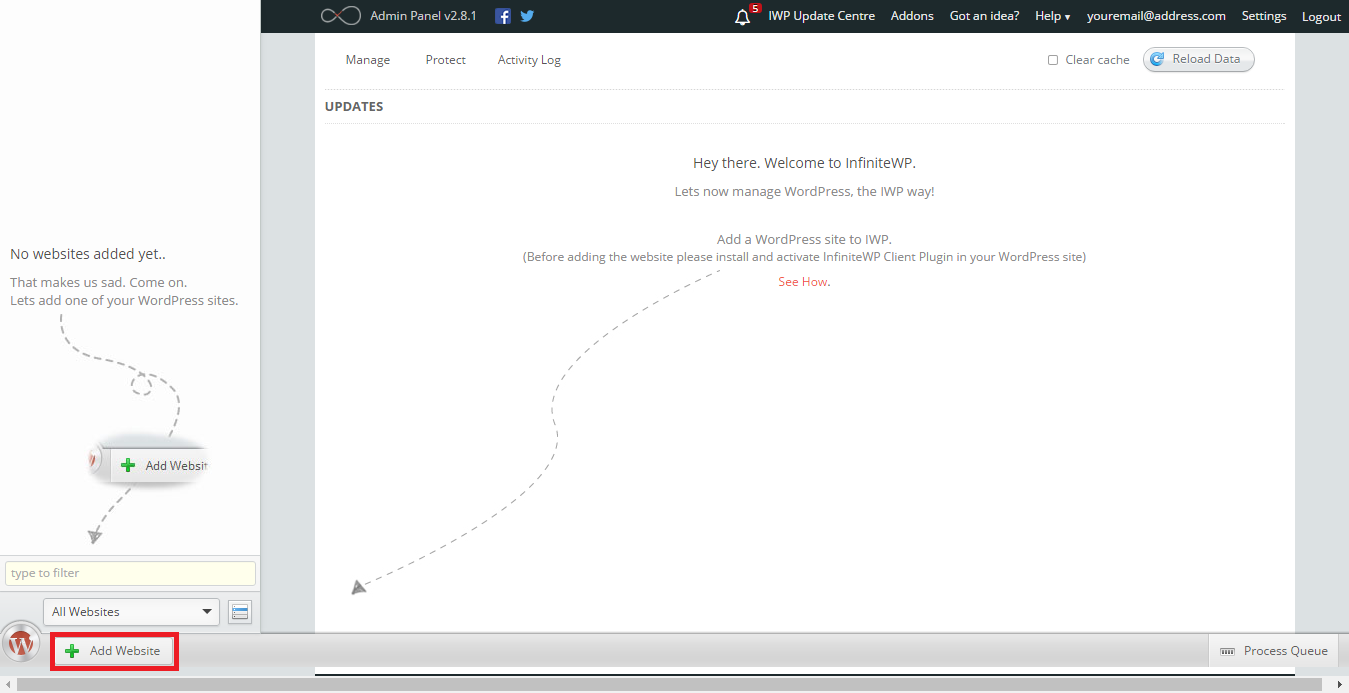
Now back to the InfiniteWP dashboard to add a new website. Go to the bottom left corner and click the Add Website button.
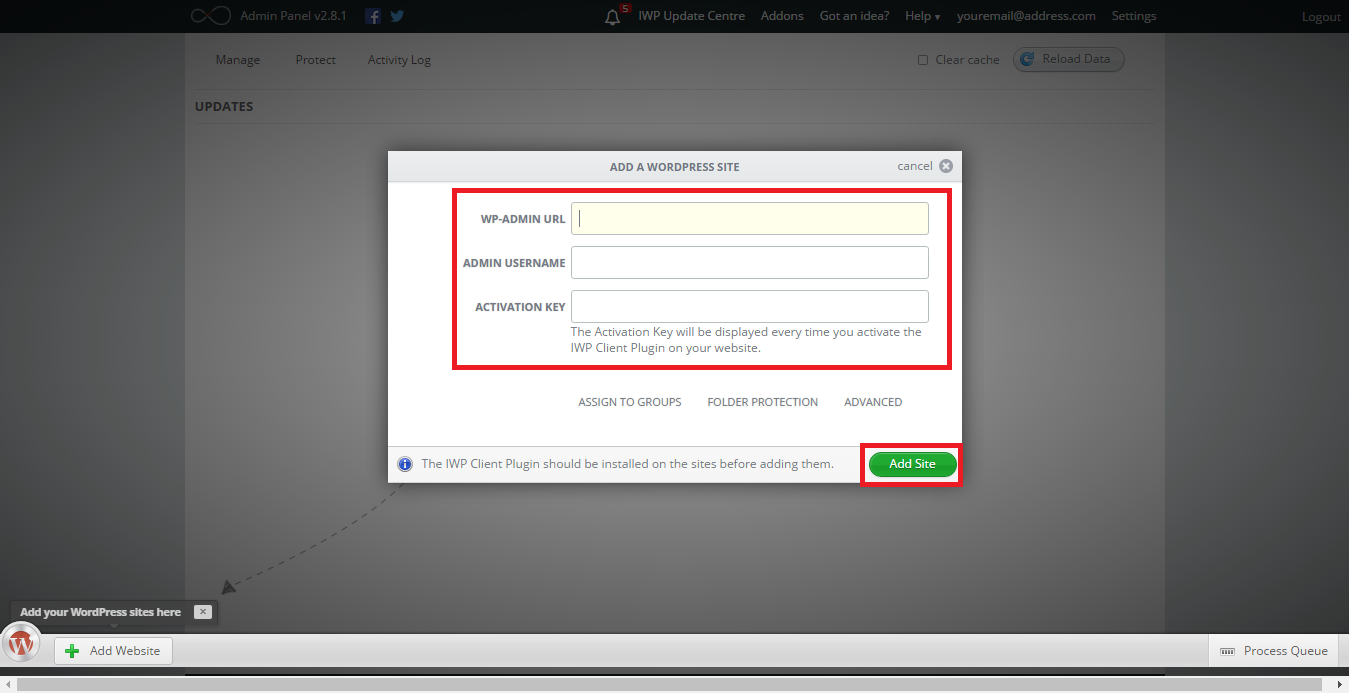
This will give you a popup with the same information as in your Wordpress website earlier so enter the following:
- WP-Admin URL: The URL to you backend admin login
- Admin Username: Your WordPress website Admin username
- Activation Key: the activation key from the InfiniteWP Client plugin
To make things even easier if you clicked Copy Details just go CTRL+V (for Windows) and it will fill all the necessary information.
After filling the form click the Add Site button and that is it.
You InfiniteWP Admin dashboard now communicates with you WordPress website and you can see all your WordPress core, plugins, themes or themes frameworks necessary updates. As you can see we have few updates to make to our website. If you click on the green bar you will get a more detailed view of the versions and what category is that needs to be updated.
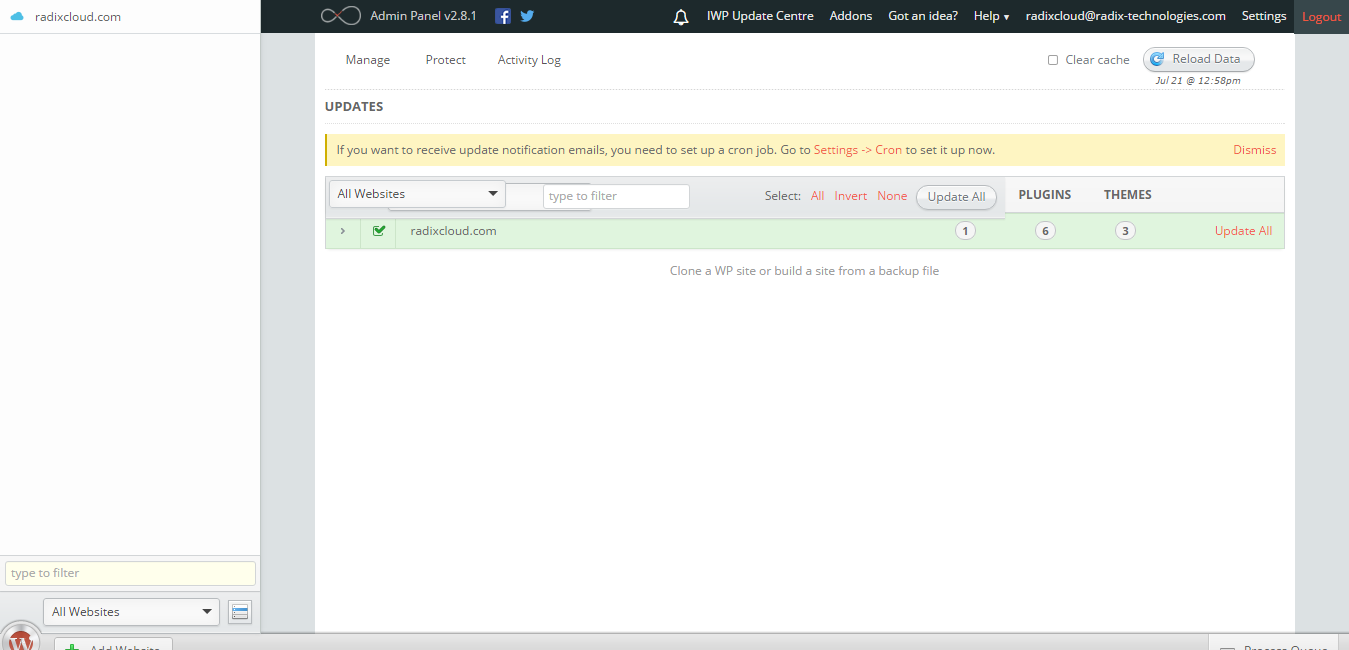
You can now add as many websites as you like that need your attention and maintenance. Next week we will update to the website to the latest version.
Dragan Markovski,
Lead Web Developer/Programmer @RadixCloud
How to maintain a large number of WordPress sites – easy
When you are a super awesome hosting company that offers a variety of services for our customers such as building their websites, there comes a time when maintenance of the same is also required. Customers want to stay up to date the with the most recent core updates, plugins or themes.
For most developers which have 2-3 websites to maintain logging individually might work, but having more than 150 websites simply won’t cut it. It wastes time, it’s ineffective and often tedious work going on every single admin dashboard URL, logging in, updating through the menus, notifying the customer and logging out.
This post is about maintaining the WordPress websites that we host and sometimes create, and how we maintain a large number of websites all to the latest version from a single central dashboard.
I will guide you with a step-by-step tutorial on how to install infiniteWP.
You need to download InfiniteWP dashboard which is all in one solution for your WordPress websites. Most important of all it’s free. The only thing, if you want to pay for, are the extra plugins. So go to this link https://infinitewp.com/installing-options/ enter your email and click download now. You will receive a zip file.
The dashboard works either with a local server such as XAMPP or WAMP, or you can go with a server through FTP/SFTP. Either way will work. In this example i use WAMP which is Apache + MySQL + PHP for Windows. If you want to go with the local version of the installation you can download WAMP on this link https://www.wampserver.com/en/#download-wrapper . The installation for WAMP is pretty simple, but if you are having difficulty you can check our post here. The minimal requirements for InfiniteWP are PHP v5.2.4 or higher with CURL support and MySQL v5.0.2 or higher. WAMP does come with all the necessary requirements.
After starting up WAMP which is in the lower right corner with a green icon W, go to your WAMP installation folder and to your WWW folder. The default path is C:\wamp\www. Here just unzip and paste the IWPAdminPanel_xx folder. After unzipping you can rename the folder name if you wish. We are also keeping all the files in the folder IWPAdminPanel_xx because you might want to have multiple projects in the future, so each gets it’s own folder on your localhost.

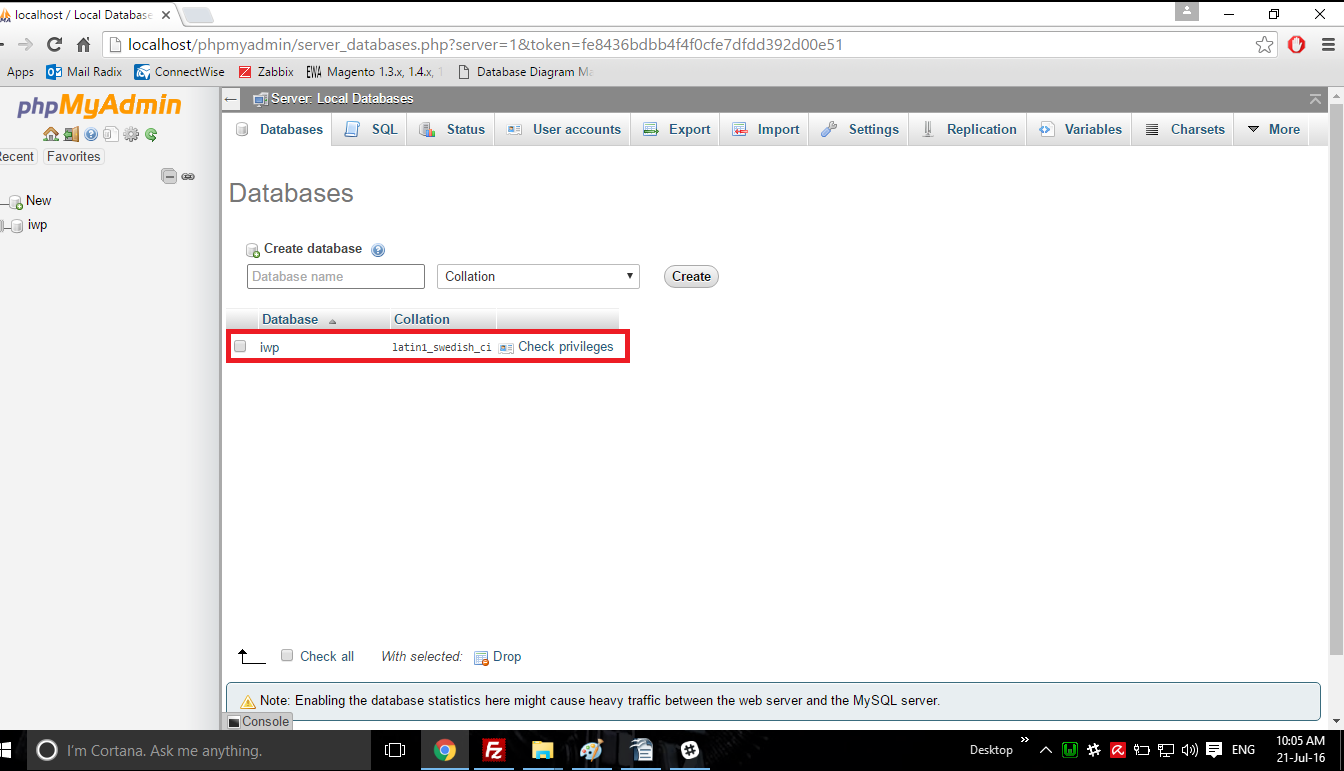
Next we need to create a database with phpmyadmin which is done through a browser with the url localhost/phpmyadmin. Log in with you username and password (default username is root and password blank), and click on the new. You will get a form on the right side so just enter the name and click Create. My database name is IWP.
Now it’s time for the installation of our InfiniteWP dashboard. In a browser type in localhost/your_folder_name, in my case it’s localhost/iwpa. The first step is the license agreement, click Agree & Install button.

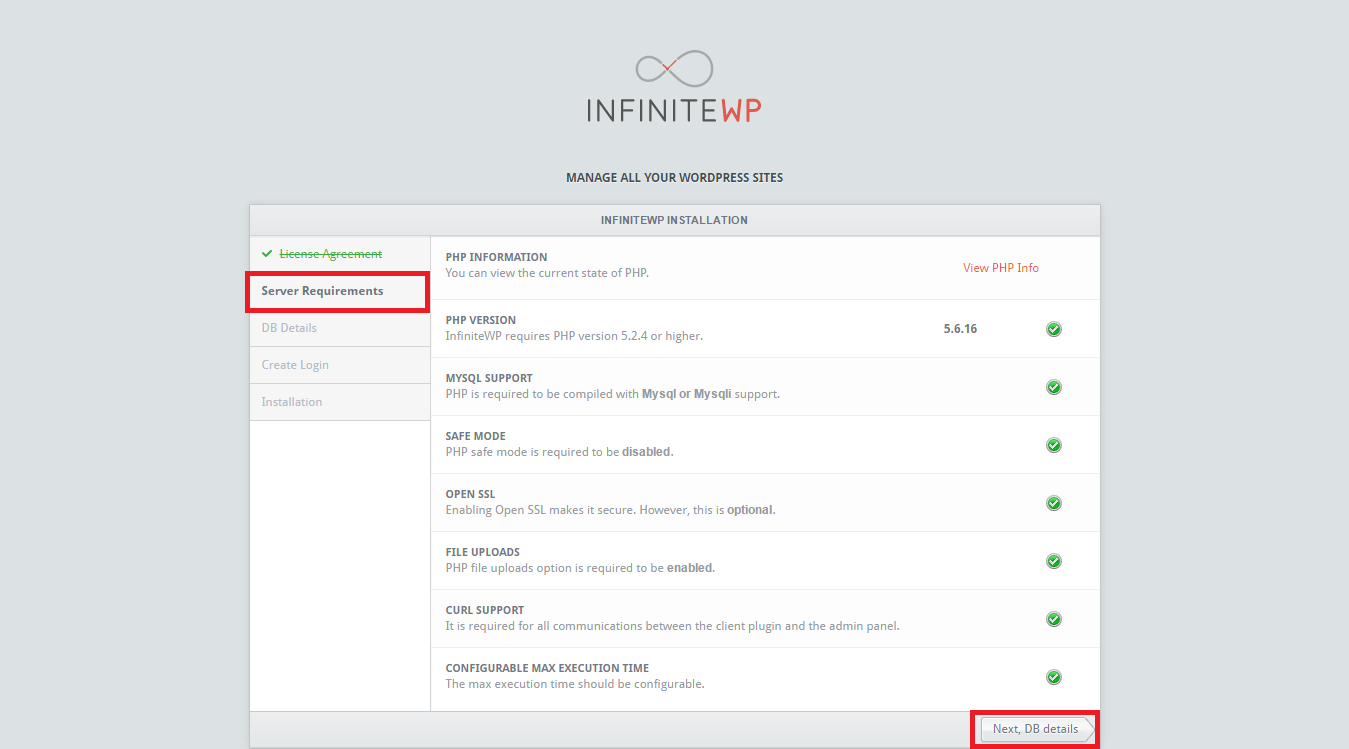
The second step checks the requirements that the InfiniteWP dashboards uses and if everything is all right you will get green OK on the right side. Click on Next DB details button. Also this step is automatically skipped if everything checks out.
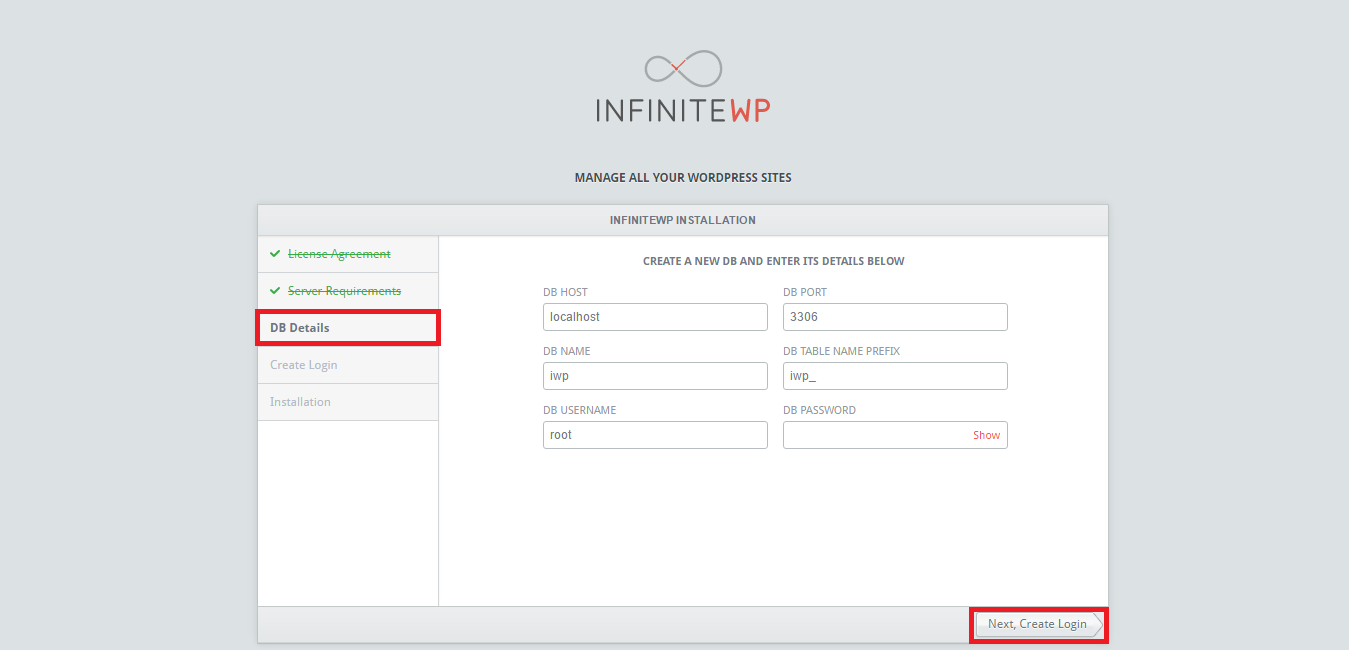
This third step requires all the Datatabase settings for InfiniteWP. For a localhost set the following values in the form DBHost – localhost, DB Port – 3306, DB name – iwp (your db name from phpmyadmin), DB Table Name Prefix – iwp_ (it can be set to whatever you want), DB Username – root and DB password – your password. If you don’t have a database password set leave the field blank. For a live server you need to enter your settings according to the hosts documentation of ports and DB settings. Click Next, Create Login.
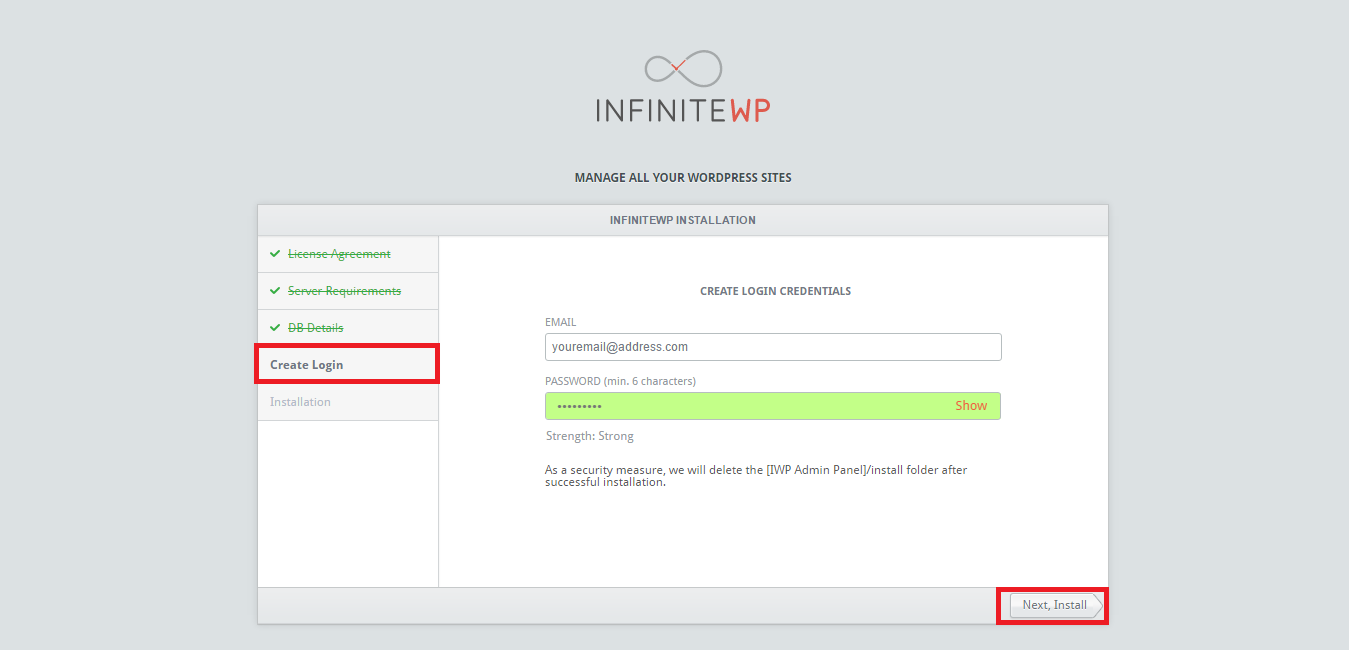
Your login is with an email address and the desired password setting. The same email is used for password recovery. The password needs to be at least 6 characters and it’s good to have lowercase/uppercase letters, numbers and signs. The strength of the password is also show. Click on the Next, Install for the installation process to begin.
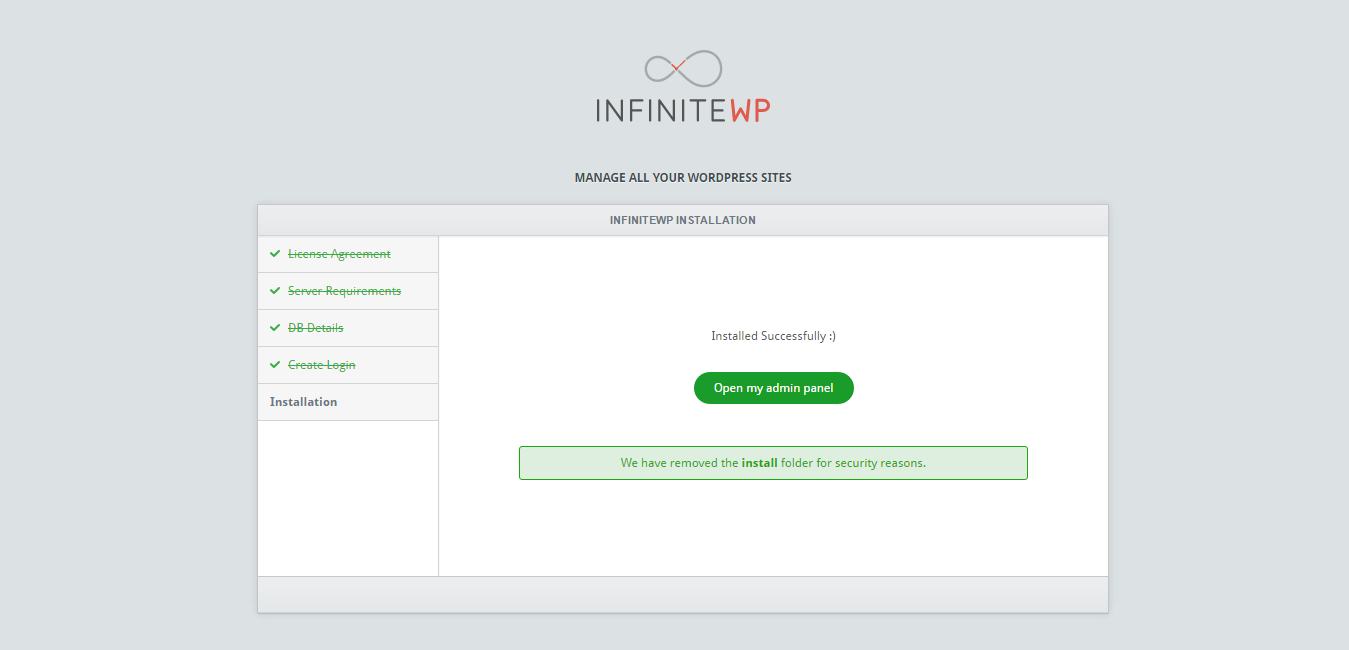
If the installation was successful you will get the following screen. Click the green Open my admin panel.
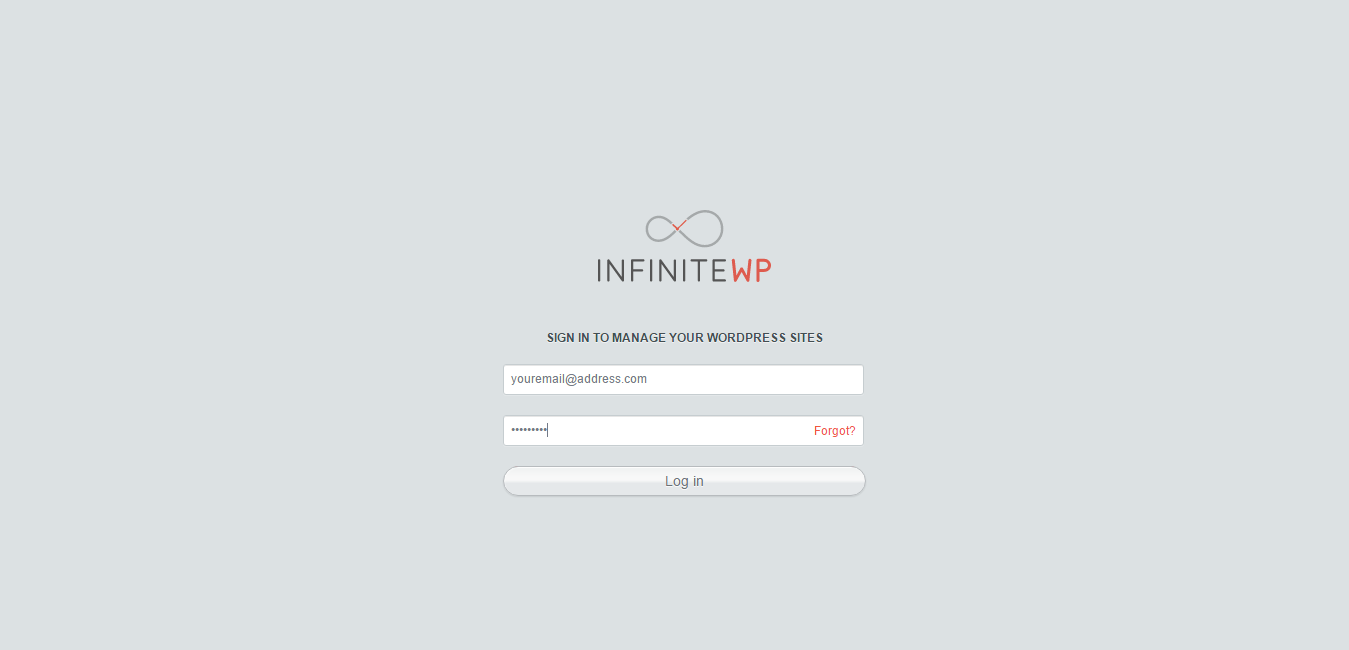
Enter your previously entered login email and password into your login screen.
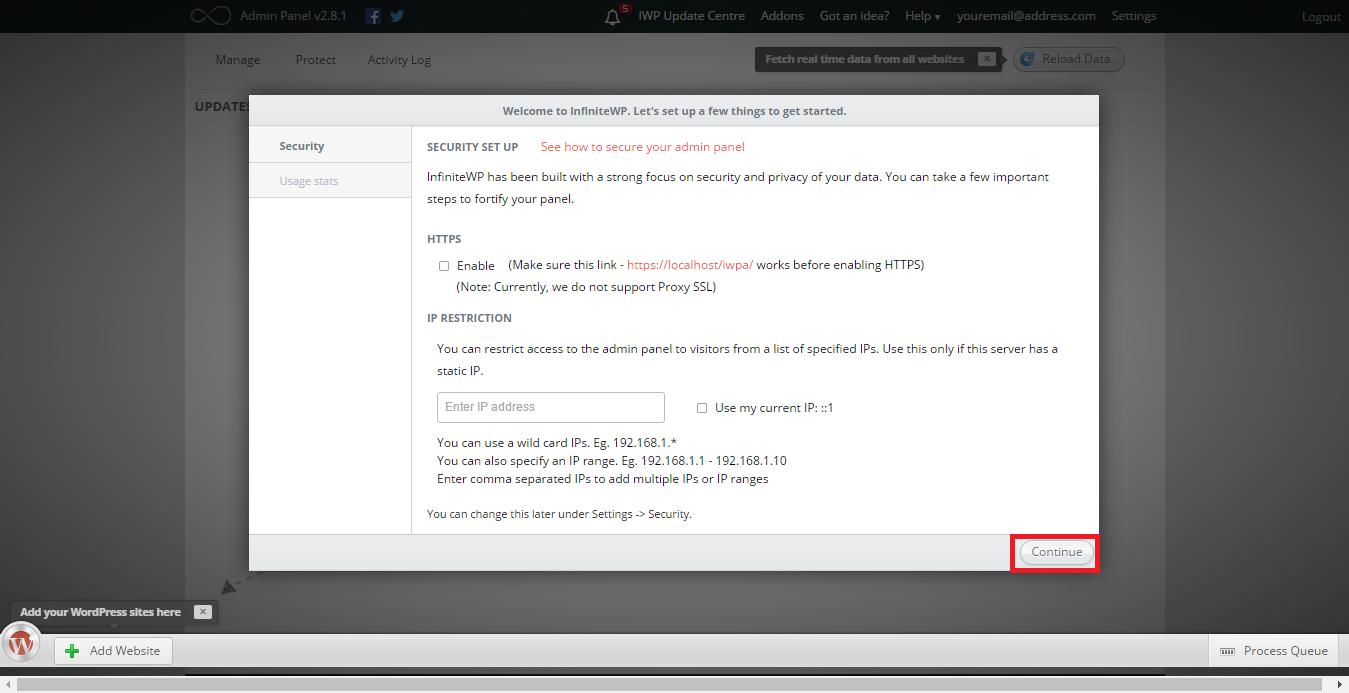
For a newly installed InfiniteWP you need to have some security settings, such as HTTPS enabling and IP restrictions, however we will not cover this in this blog post. We will have a separate blog post specifically for how you can protect your dashboard and make those settings. Click Continue.
The final screen asks for a data collection if you are willing to improve upon InfiniteWP. That’s it Click Done and Open the app.
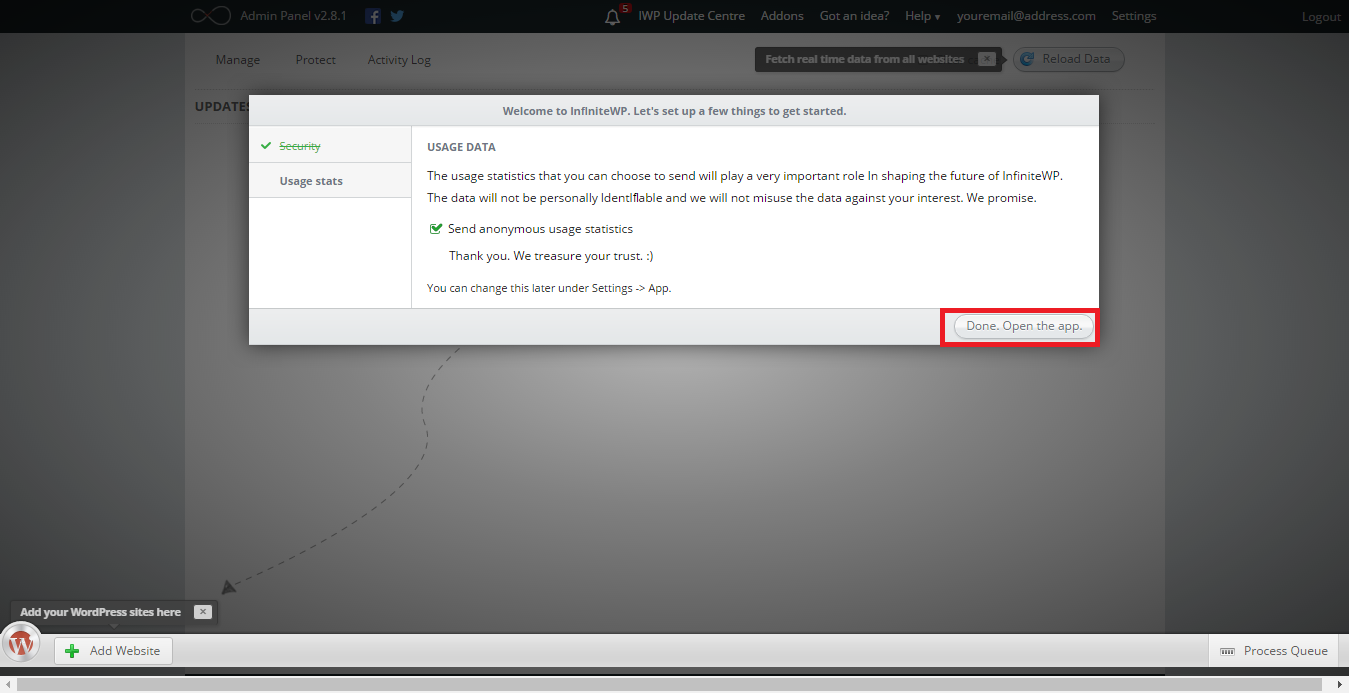
Now you are ready to add your websites inside the InfiniteWP dashboard. We will cover adding websites and backups in the next blog post.
Dragan Markovski,
Lead Web Developer/Programmer @RadixCloud
Automation-Creating systems to simplify end user engagement
For the past couple of years, automation has been аll the rave in IT. Looking for ways to ease processes for the end user comes natural. It’s easier for the user, it easier for the system engineers, easier for the whole IT sector in general.
Тhis past year we have had a lot of clients looking for automation of their IT processes. One in particular, has a large number of end users, and a complex IT system running across a variety of OS’s, a lot of applications, thousands of devices and аn enormous amount of data.
But this is a challenge that we welcomed with open arms, and created a system that suits their needs best. By using a set of applications and a team of our engineers, we provided the client with a “few click” system, that can be used by all end users, regardless of their IT knowledge.
Here are the applications used for creating this system:
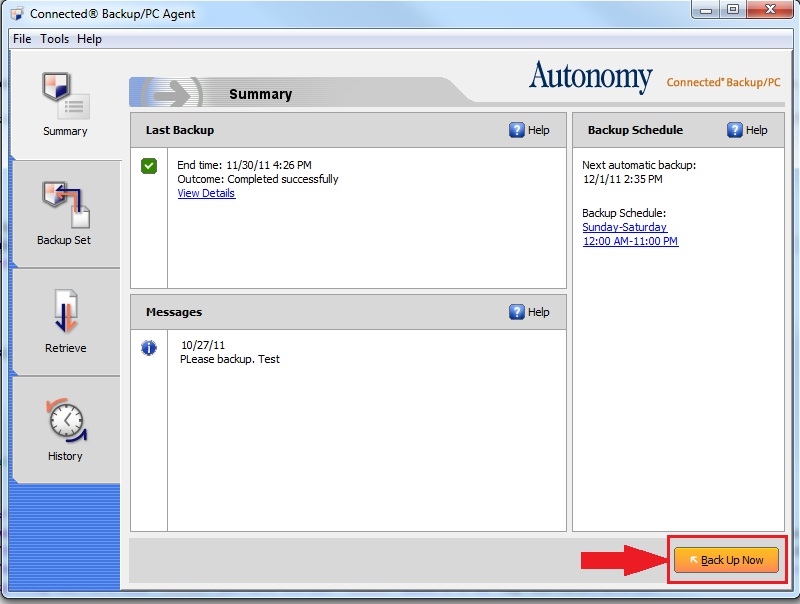
Connected BackUp- for full backup of end user data on their PCs.
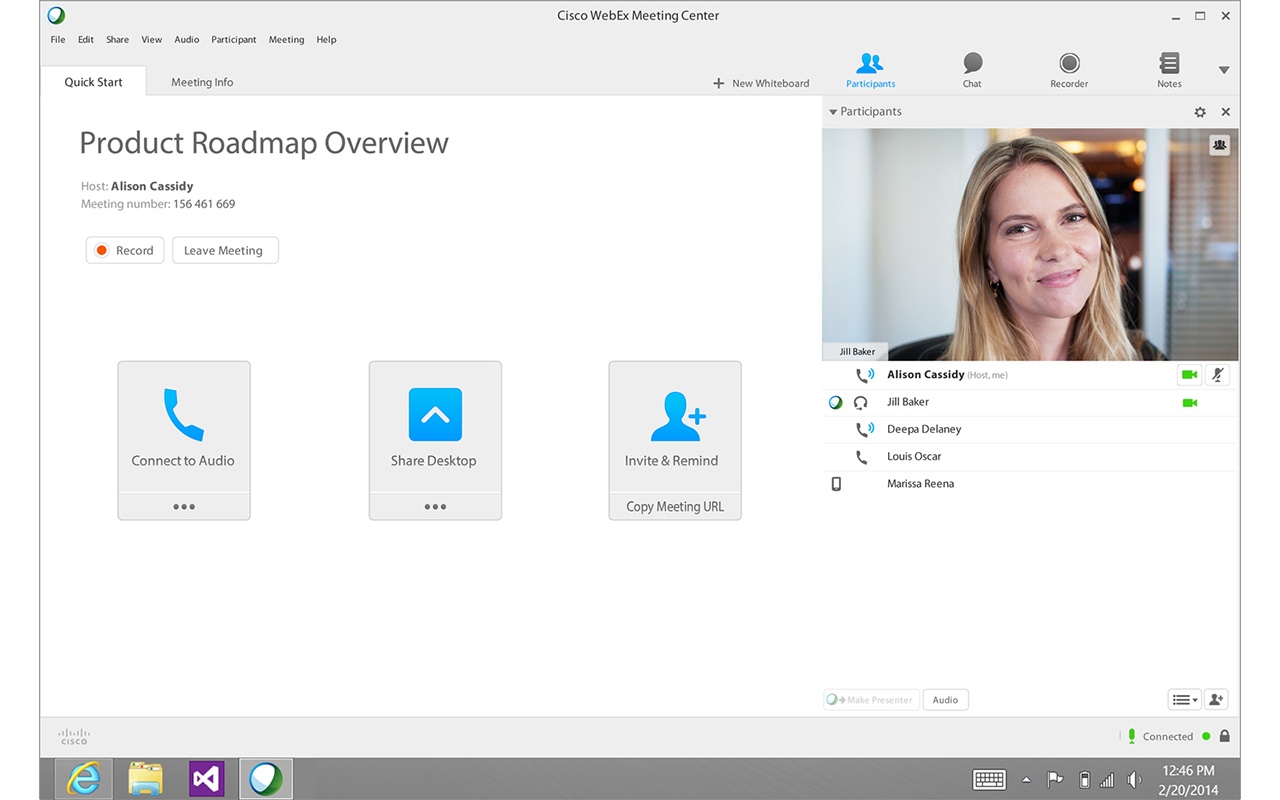
WebEx (Cisco)- teleconferencing application by Cisco, a leading platform in the field.
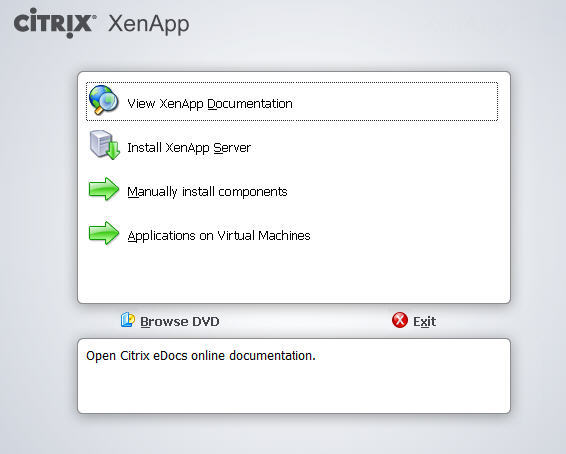
Citrix XenApp- virtualization of applications and desktops.
InTune- a mobile device management platform.
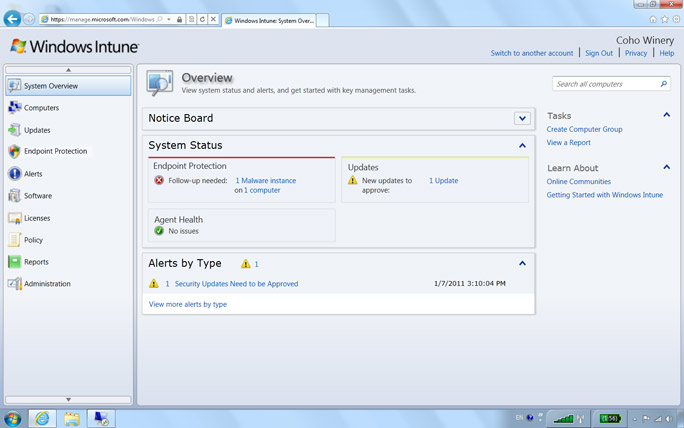
SSCM- a complex application for remote control, patch management, software distribution, operating system deployment, network access protection and hardware and software inventory.
By combing all these, we created a system that can be used by all the end users, with the simplicity for all, regardless of their IT knowledge.
Have no doubt, creating this system required time and hard work, but the end result was awesome. But the work those not end here. Maintaining, updating, and improving this system is a full time job, that needs a dedicated team of professionals. The amount of data that goes through these applications on a daily basis is incredible. Creating the system is a challenge, but maintaining it is challenge on a whole different level. But with the team that we have on working on this project, as well as our experience this is not a problem.
For any information regarding automation or other Radix Technologies services feel free to contact me at:
Aleksandar.Maksimovski@radixcloud.com
Aleksandar Maksimovski,
Lead Service Desk Specialist
Ivan Jankuloski ranked 2nd at Cisco Networking Academy NetRiders Europe, Russian Federation and CIS 2016 CCNA Competition
Our very own Ivan Jankuloski has been ranked second in the Cisco Networking Academy NetRiders Europe, Russian Federation and CIS 2016 CCNA Competition, that was held on 30th of June. In this competition, competitors were engaged in a 100 question – 60 minutes theoretical exam, as well as a practical part which evolved troubleshooting and resolving real networking issues.
By ranking in the top two, Ivan has won a free study trip to Cisco’s headquarters in San Jose, CA, where he will learn about Cisco technology from the top experts in the field. We are very happy that he is a part of team Radix. Ivan has been with us for less than 4 months, and he’s already becoming a very valuable member in our team. Here at Radix we always strive to hire the brightest and most hard-working young minds, and Ivan fits this profile perfectly. A young man that has a degree in radiology as well as being a very educated sys-admin. We look forward to have him share the knowledge he will acquire at Cisco HQ.
Official rankings of the competition here.
A picture of a very stoked Ivan Jankuloski below.

How to fix a suspect database
One of the relatively common situations during disaster recovery is a suspect database. The suspect flag is a mode which is set to the database by SQL Server in several cases. When it comes to disaster recovery, mainly databases are marked as suspect in case of a hardware failure, improper shutdown of the DB server, DB files corruption, etc. Strangely enough, it can happen when you restore the entire DB server from a valid snapshot (it happened to me).
In such cases, you will need to bring the database back to online mode. At this point you need to be aware that during the process there may be some data loss. This can occur if there are incomplete transactions which will need to be rolled back. In general,
What you will need for the procedure is the SQL Server Management Studio. I will use the Prime database which I corrupted in the previous post 🙂
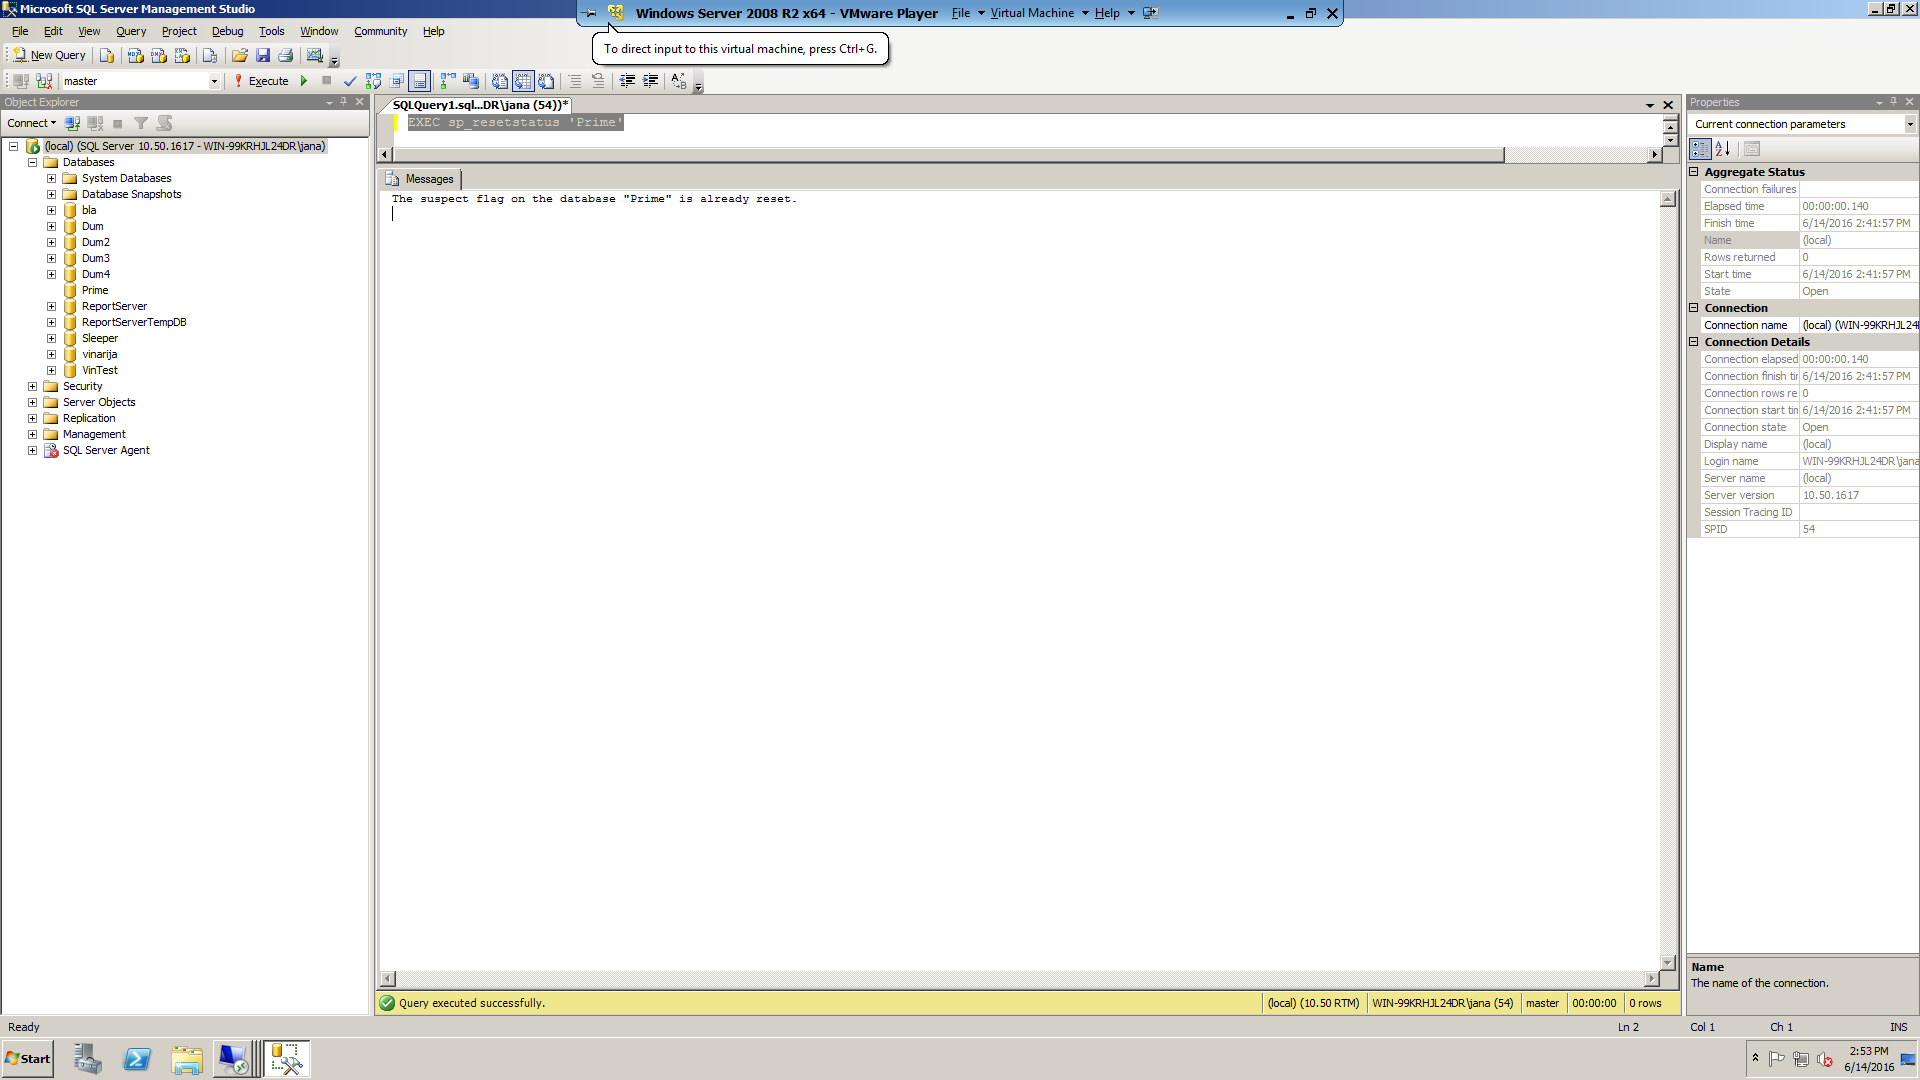
The first thing you need to do is to turn off the suspect flag (which does not mean that the DB is fixed). You will need to execute the following command:
EXEC sp_resetstatus ‘Prime’
You will get the following message:
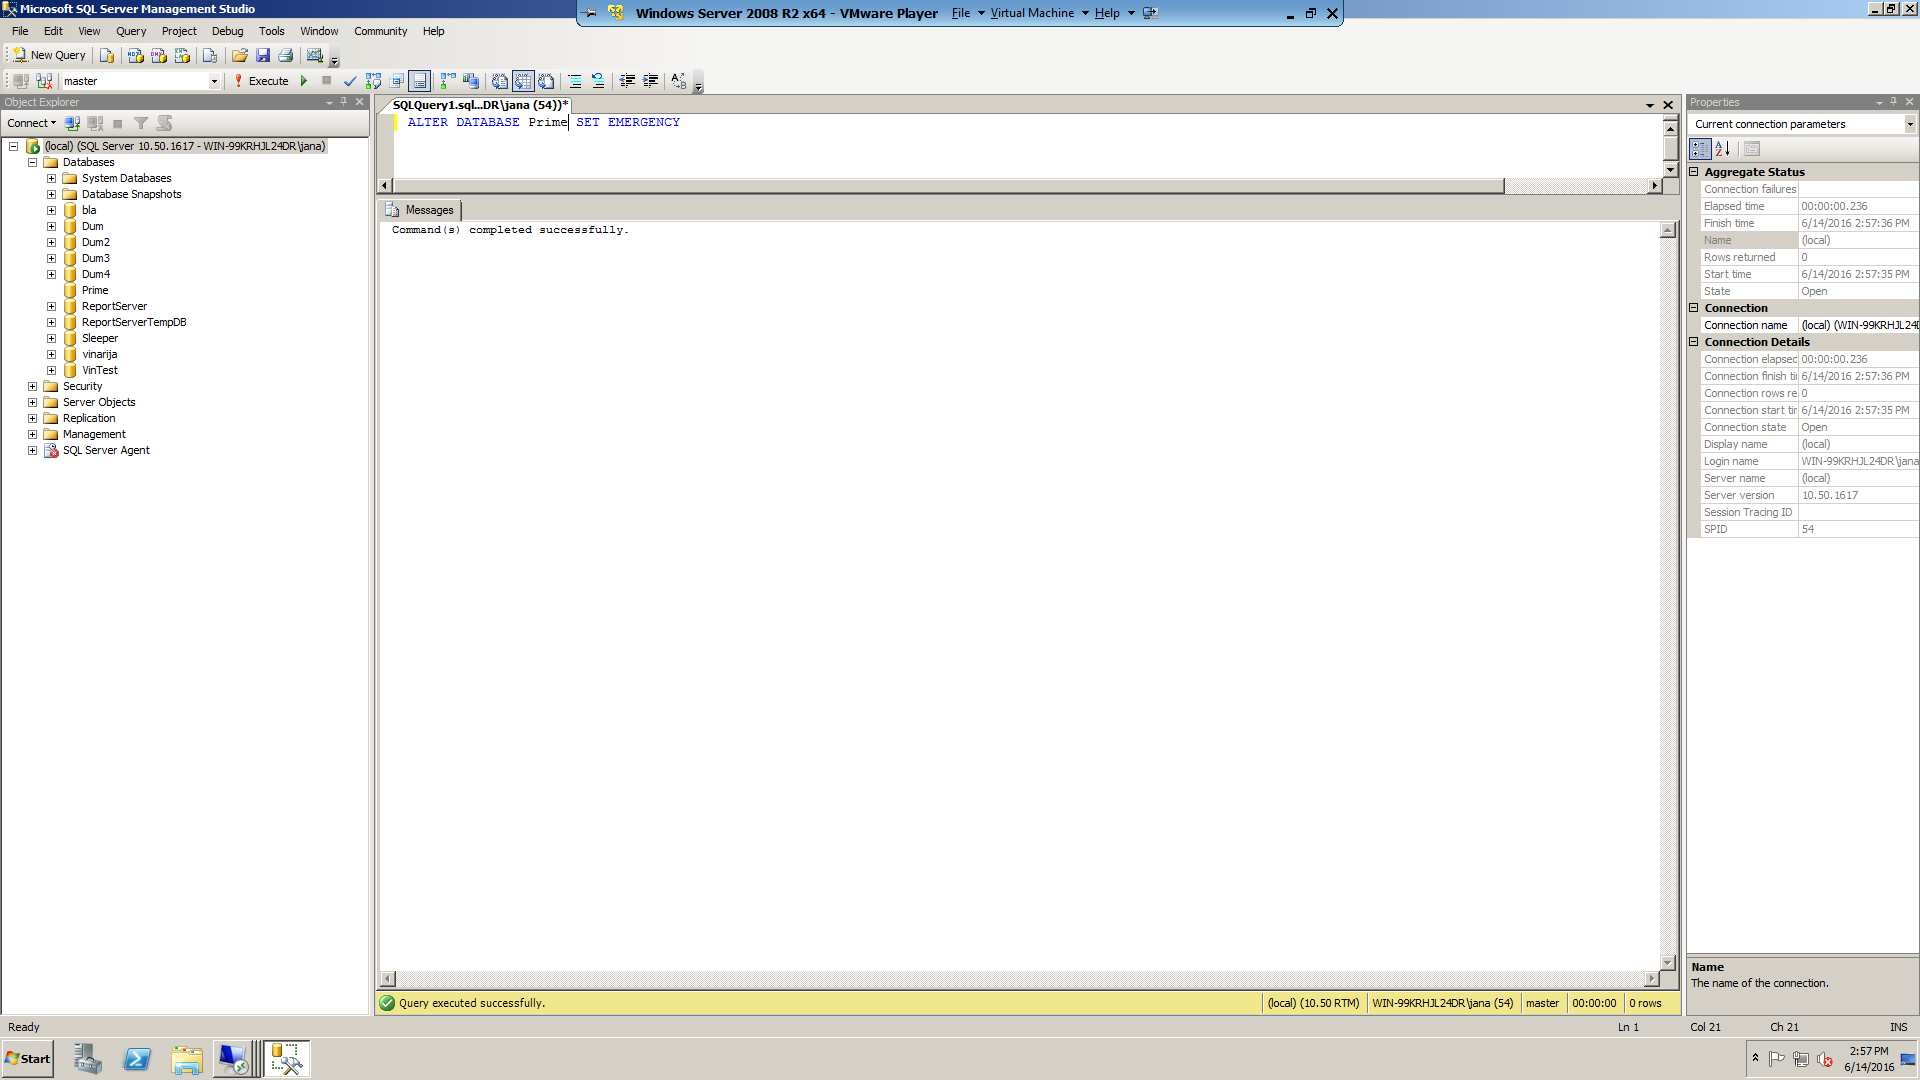
The next step is to set the database into emergency mode, which will make it a read-only with the following command:
ALTER DATABASE Prime SET EMERGENCY
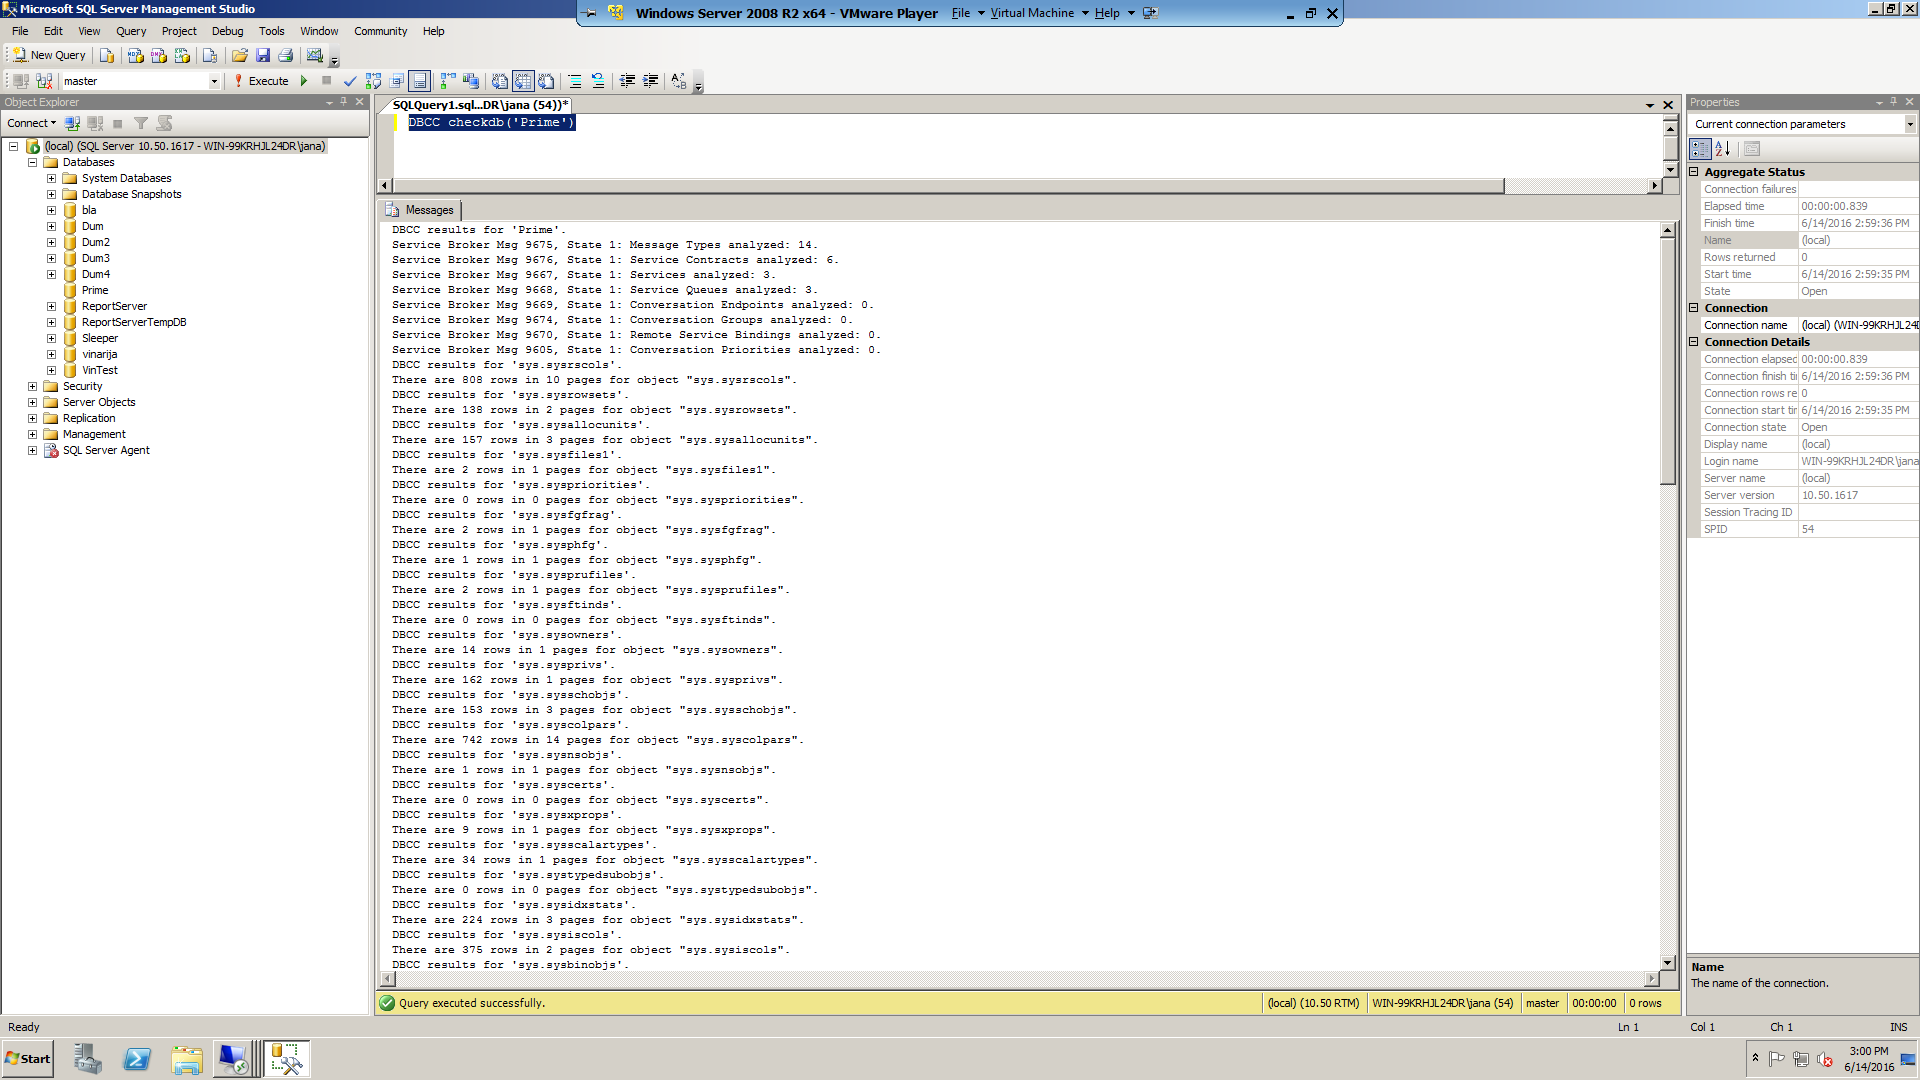
Then, perform a consistency check. The output will display any possible errors.
DBCC checkdb(‘Prime‘)
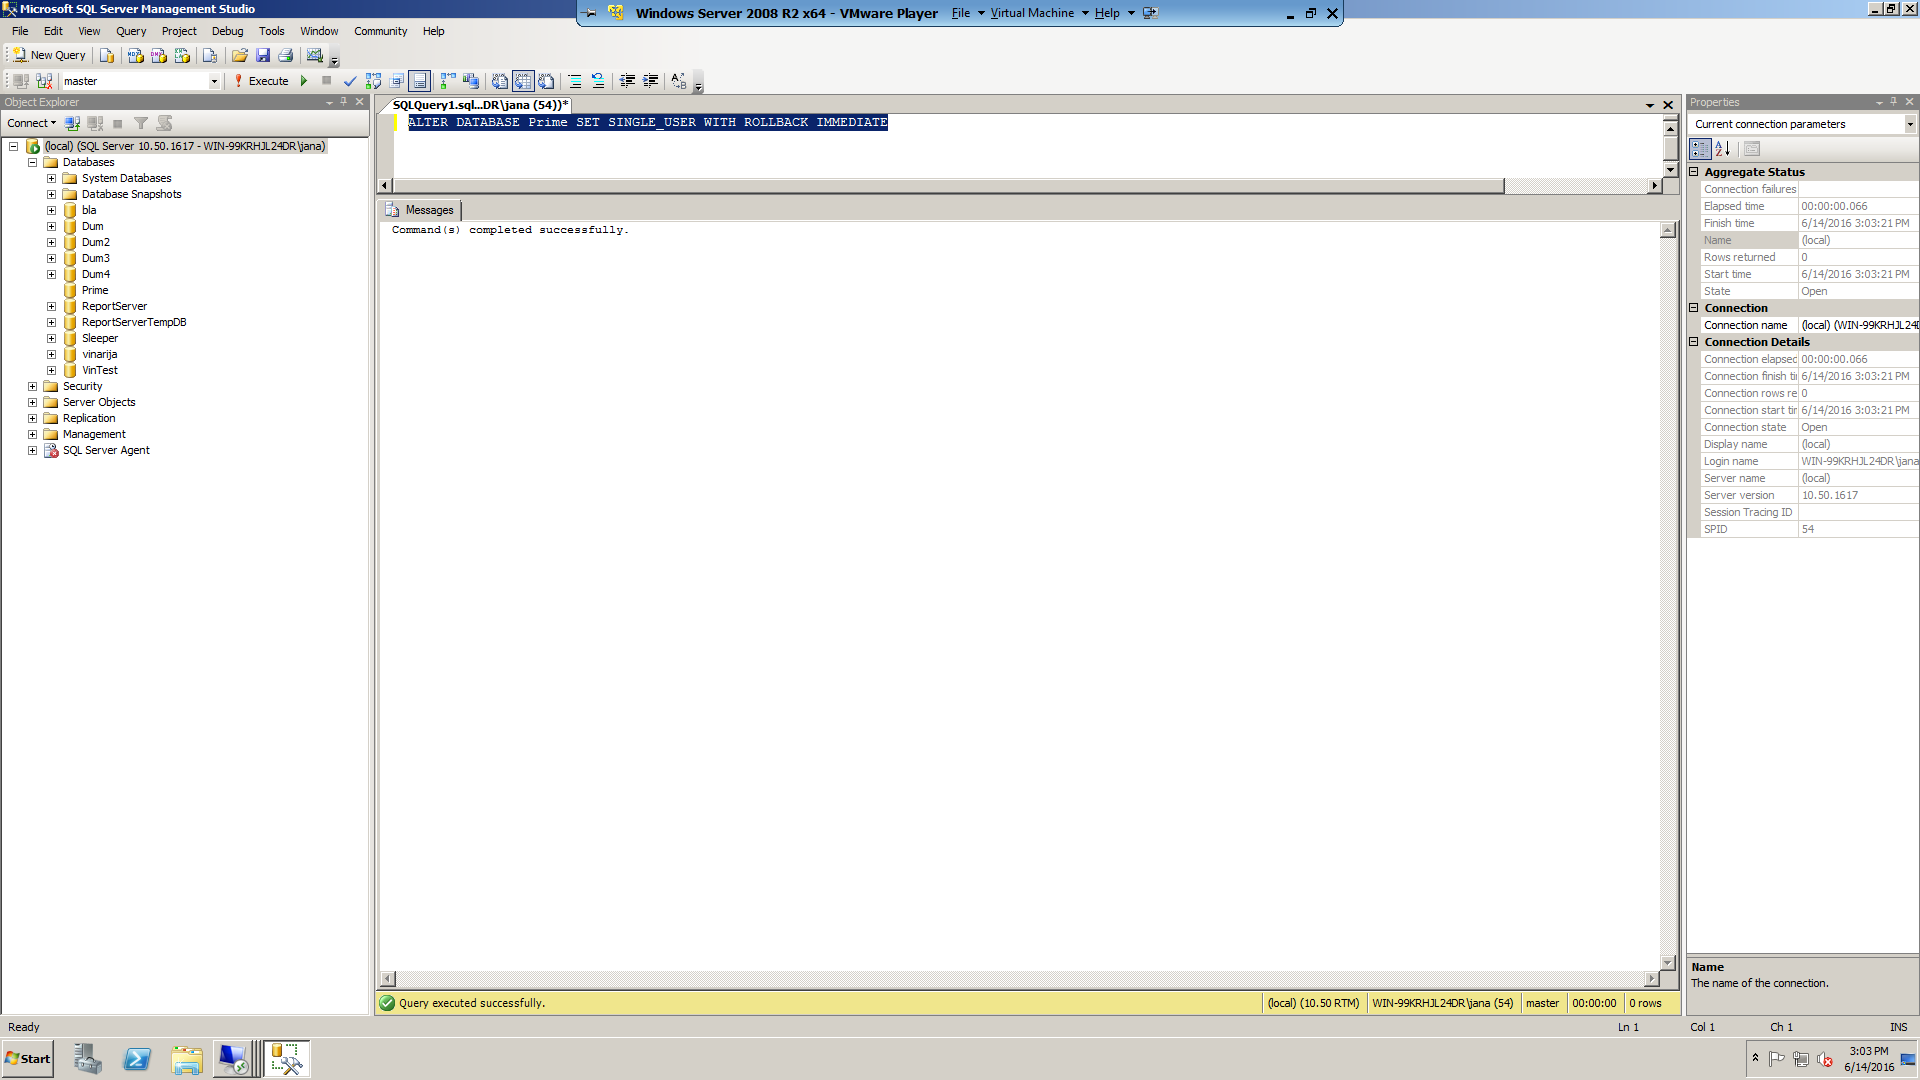
In the next step we do a rollback of any pending transactions. This step also brings the DB in a single user mode.
ALTER DATABASE Prime SET SINGLE_USER WITH ROLLBACK IMMEDIATE
Finally, we will correct any reported errors. Keep track of the time, since this may be a lengthy process.
DBCC CheckDB (‘Prime‘, REPAIR_ALLOW_DATA_LOSS)

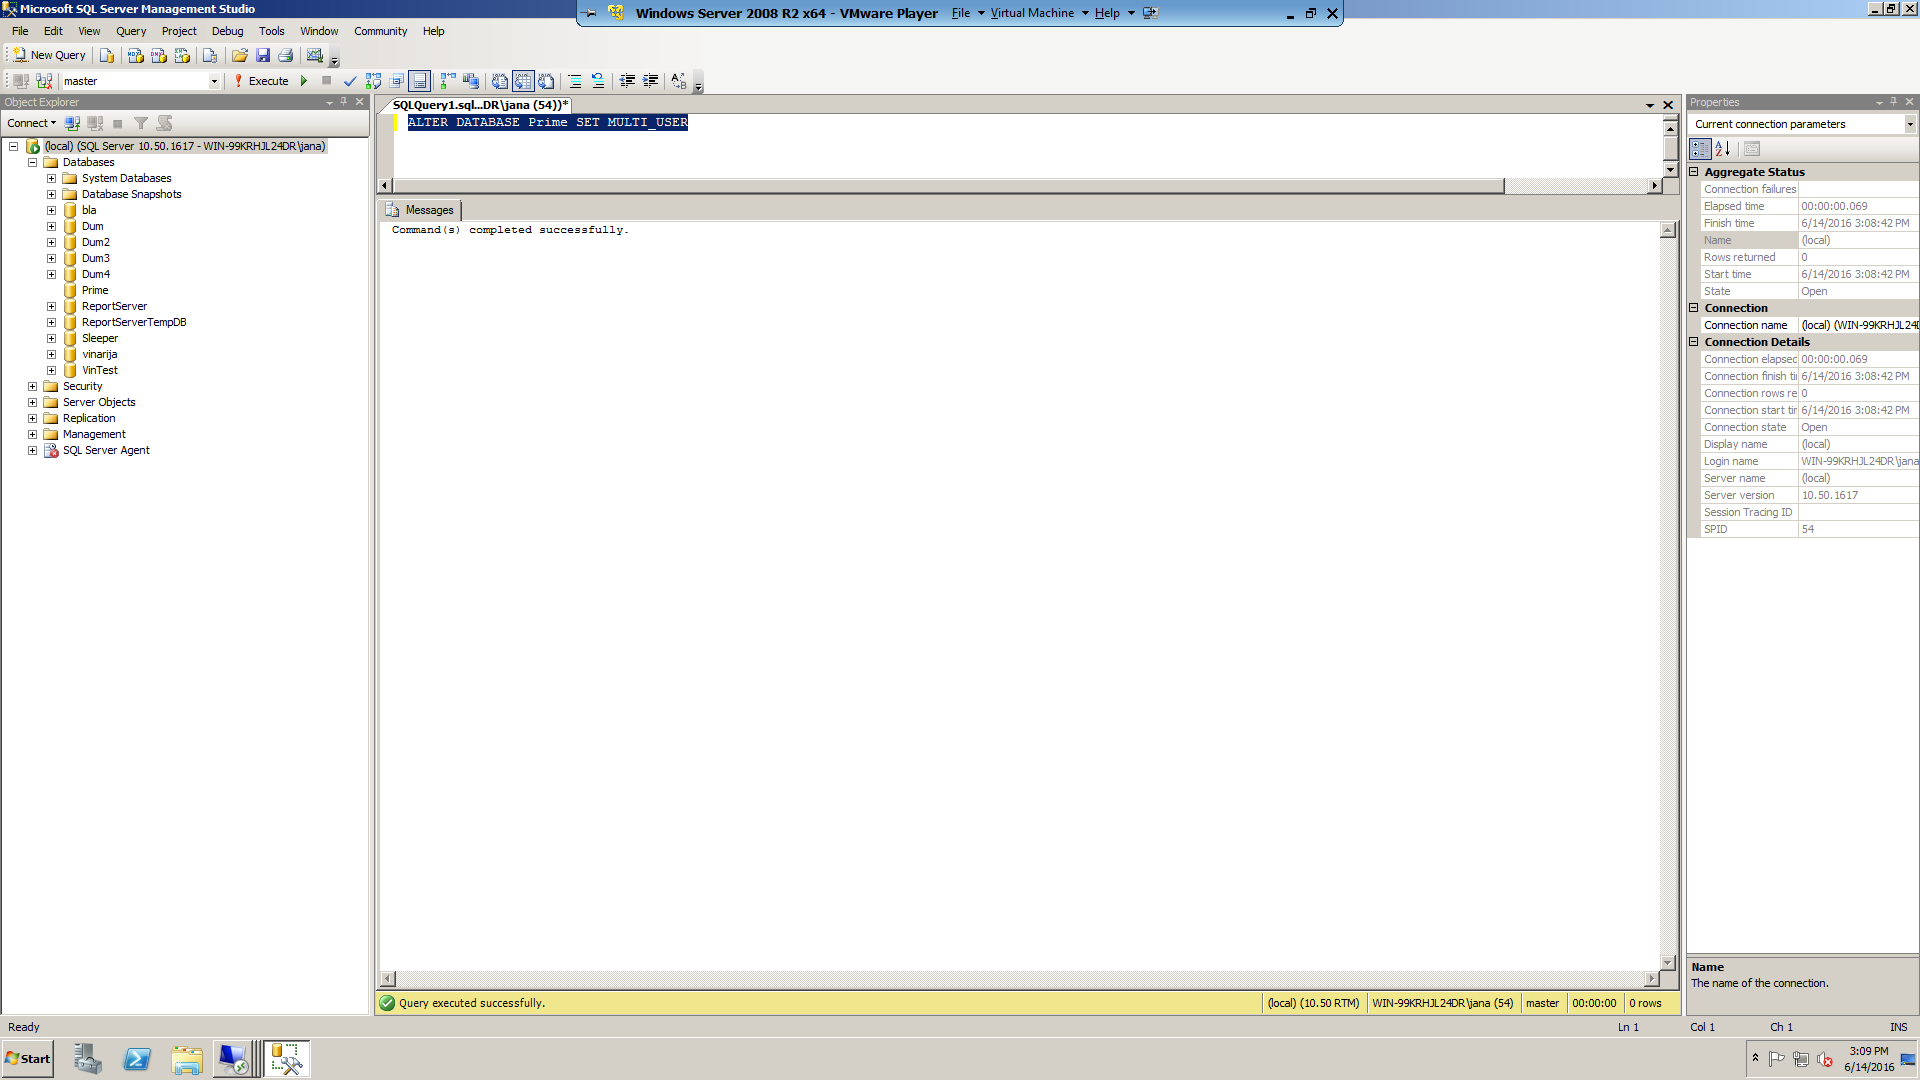
To wrap up the procedure, we will need to enable the multi user access and bring it online.
ALTER DATABASE Prime SET MULTI_USER
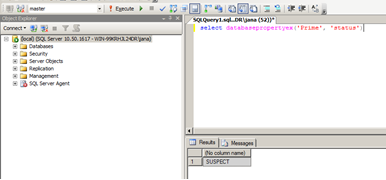
If we check the DB status now, it will be shown as online. We can browse through the tables and query data:
select DATABASEPROPERTYEX(‘Prime‘, ‘status’)

Jana Georgievska,
DBA
How to add SSL encryption to your website for free
Anyone that has set up a web or an application server knows how challenging it is to deal with requesting, verifying and install an SSL/TLS certificate is. Fast forward into the future of today…

Let’s Encrypt is a certificate authority that has been created by the Linux Foundation with community support to tackle these challenges, a big part of EFF’s mission to encrypt the Web. They claim: “No validation emails, no complicated configuration editing, no expired certificates breaking your website. And of course, because Let’s Encrypt provides certificates for free, no need to arrange payment.”
There are 1,358,780 certificates issued to date and that number is growing by the minute. You can check all the issues certificates here.
The official client software “Certbot” is easy to use and completely open source.

You can grab it and see the help file using the following command:
$ git clone https://github.com/certbot/certbot && cd certbot && chmod a+x certbot-auto && ./certbot-auto —help
To create a certificate and reconfigure apache to use it on a Centos6 machine this should do the trick.
sudo ./certbot-auto --apache --email youremail@yourdomain.tld --agree-tos --webroot -w /var/www/html/ -d subdomain.domain.tld -d www.subdomain.domain.tld
For more advanced and automated configuration instruction visit the Certbot homepage. If you need any help leave a reply in the comment section.
Martin Markovski,
Director Of Technology
How to corrupt your database
In the highly unlikely world of DBA testing scenarios, sometimes you will need to corrupt your MS SQL database. One of these scenarios could be that you want to check how long it would take to recover the database during disaster recovery. What will be described here is only for testing purposes and MUST NOT be done on any production system. The entire process was conducted on a local test environment.
There are several procedures which you can use, mainly through updating the status of the database in the system tables, which does not always work. There are cases where the needed options are deprecated in the SQL version, for example, in MS SQL Server 2005, the extended option that would allow running modification queries against the system tables was removed. I ran into this particular case when I tried to make a SUSPECT database on a MS SQL Server 2008 R2. Even though the statement to allow updates went smoothly:
sp_configure “allow updates”, 1
When I tried to change the status of the database named Prime:
UPDATE sysdatabases SET STATUS = 320 WHERE name = ‘Prime’
I received the following error:
Msg 259, Level 16, State 1, Line 1
Ad hoc updates to system catalogs are not allowed.
In that particular moment, I did not have the time to troubleshoot this error, and I needed the Prime database marked as SUSPECT.
As it turns out, the easiest way to get a SUSPECT database is to mess up the files. This works regardless of the MS SQL version.
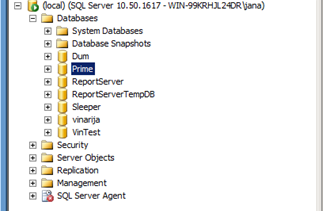
First, restore a database from a good backup. In my Management Studio, I have the Prime database which I intend to place in a SUSPECT status:
You can check the status of the database using the statement:
select databasepropertyex(‘Prime’, ‘status’)

Or see if you can list and query the tables. So my Prime database is now ONLINE, which means that it is alive and well.
Next, shut down the MS SQL services from the Services panel in Windows.
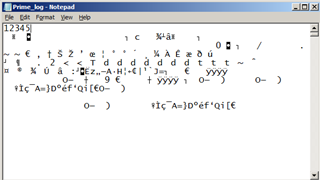
Locate the .ldf file of your database. In my case, this is the Prime_log.ldf file. Open the file for editing (I used Notepad):

And make an adjustment. I added a new row in the file and typed 12345:
Save the file and start the MS SQL services again. Open the Management Studio and execute the statement to check the database status again:
As you can see, the Prime database is now a SUSPECT 😀
If you try to expand the database node, you will get the following error:

Congratulations, you have successfully corrupted your database 😀
Jana Georgievska,
DBA
Radix Technologies Video
A short video depicting our capabilities. Enjoy and share! 🙂

 Deutsch
 Français
 Македонски